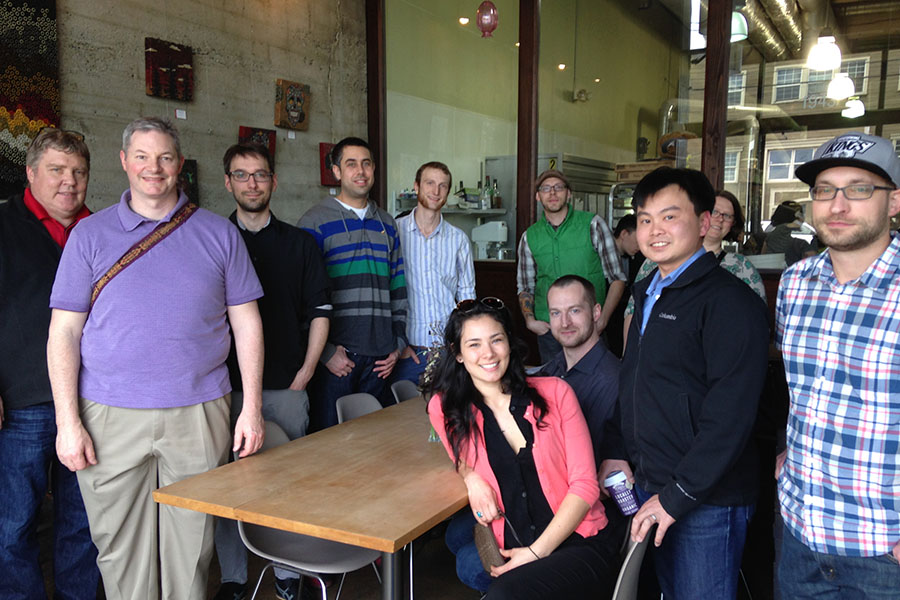
Last month I took a little work trip with my partners Matt Galvin and Scott France to the Bay Area – if you call eating at some of the country’s finest restaurants and bakeries work. Our first stop was the San Francisco Baking Institute. Michel Suas, a mentor of mine for over 20 years, founded this internationally recognized baking school in 1996. Michel has consulted for many of the nation’s top bakeries, including Acme Bread and Thomas Keller’s restaurants. The Institute hosts bread and pastry classes for both professional and amateur bakers, and many at Macrina have taken classes from him in classic breads of France and Viennoiserie pastry. I consider him the best in his field and continue to consult with him as Macrina grows.
1. Tartine
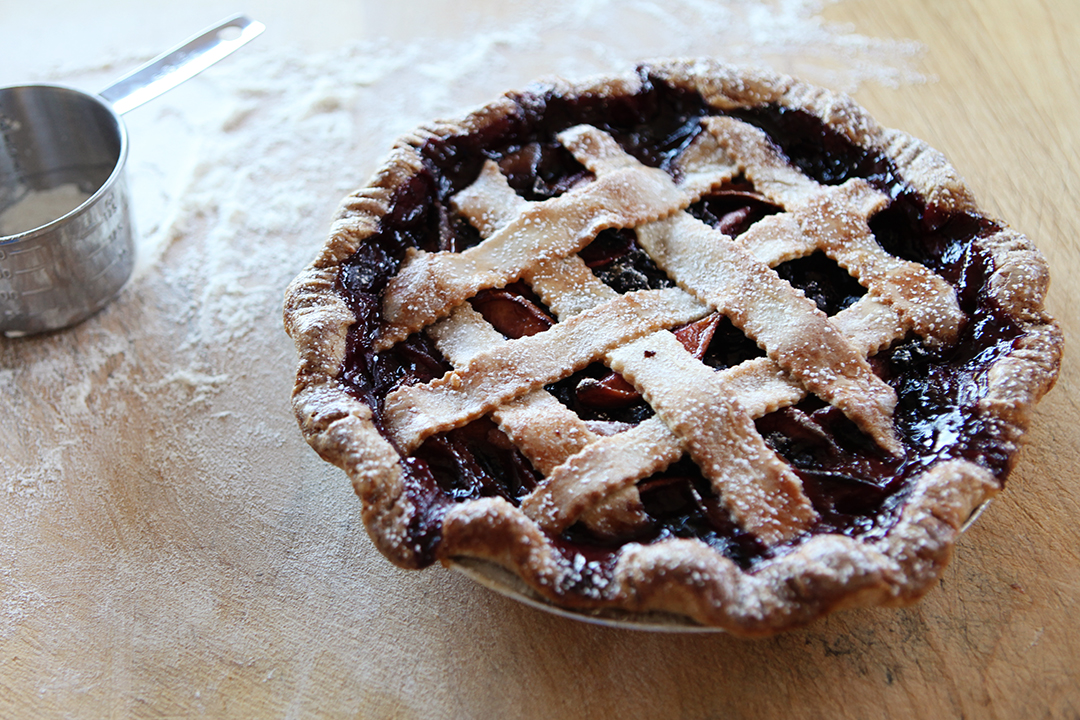
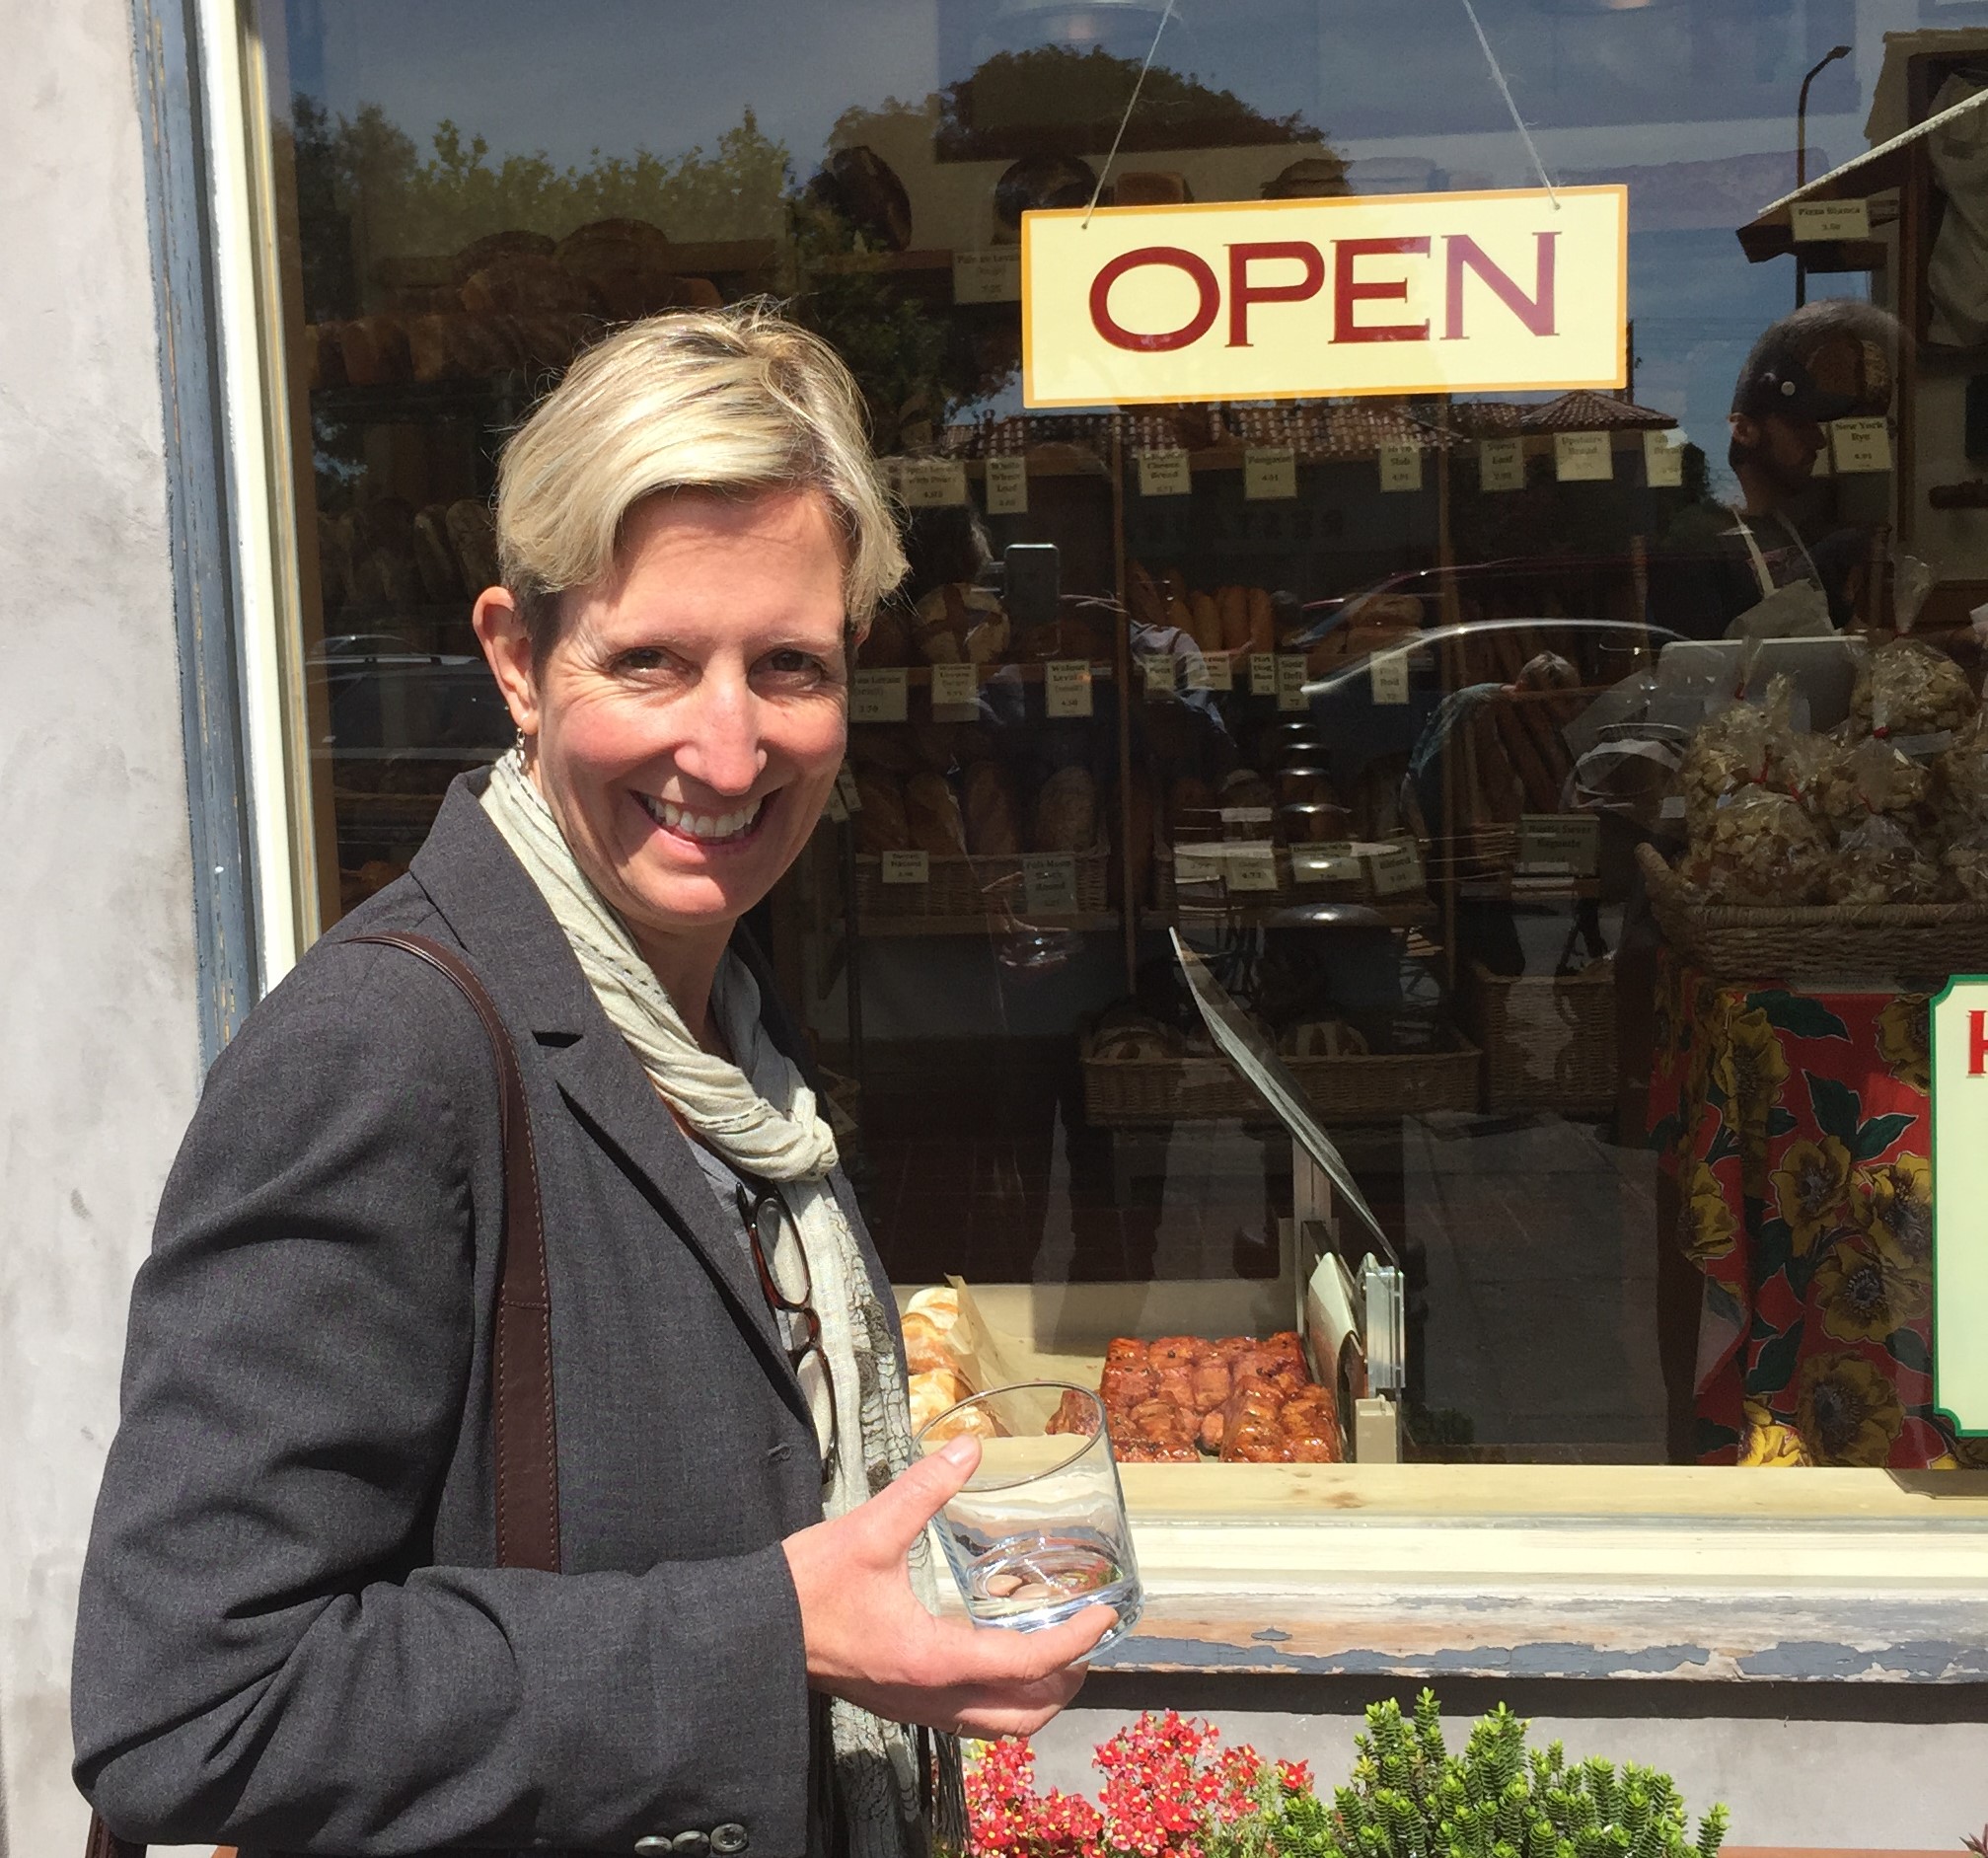
For a late lunch, we made our way to the Mission District to Tartine, a French-style bakery run by Elizabeth Pruitt and Chad Robertson. There is no sign above the door, just a street address, but finding it is easy. Just look for the long line of people snaking out the door, waiting for one of Tartine’s gorgeous pastries or a loaf of bread often still warm from the oven. When we finally made it to the front of the line, I had to peek through a baker’s rack behind the cash register to catch a glimpse of the breads. Fortunately, they are also listed on a chalkboard. I bought a half-loaf of sprouted rye bread, still piping hot. We tore into the fragrant, crusty loaf right at the counter. We also indulged in their rye cookies, a savory scone with Niman Ranch bacon, a classic croissant, and lemon pound cake, all of which I recommend. As we were finishing up a little red pull-wagon stacked with over a dozen fragrant loaves wheeled right by our table bound for their restaurant Bar Tartine, which is located right around the corner.
2. STATE BIRD PROVISIONS
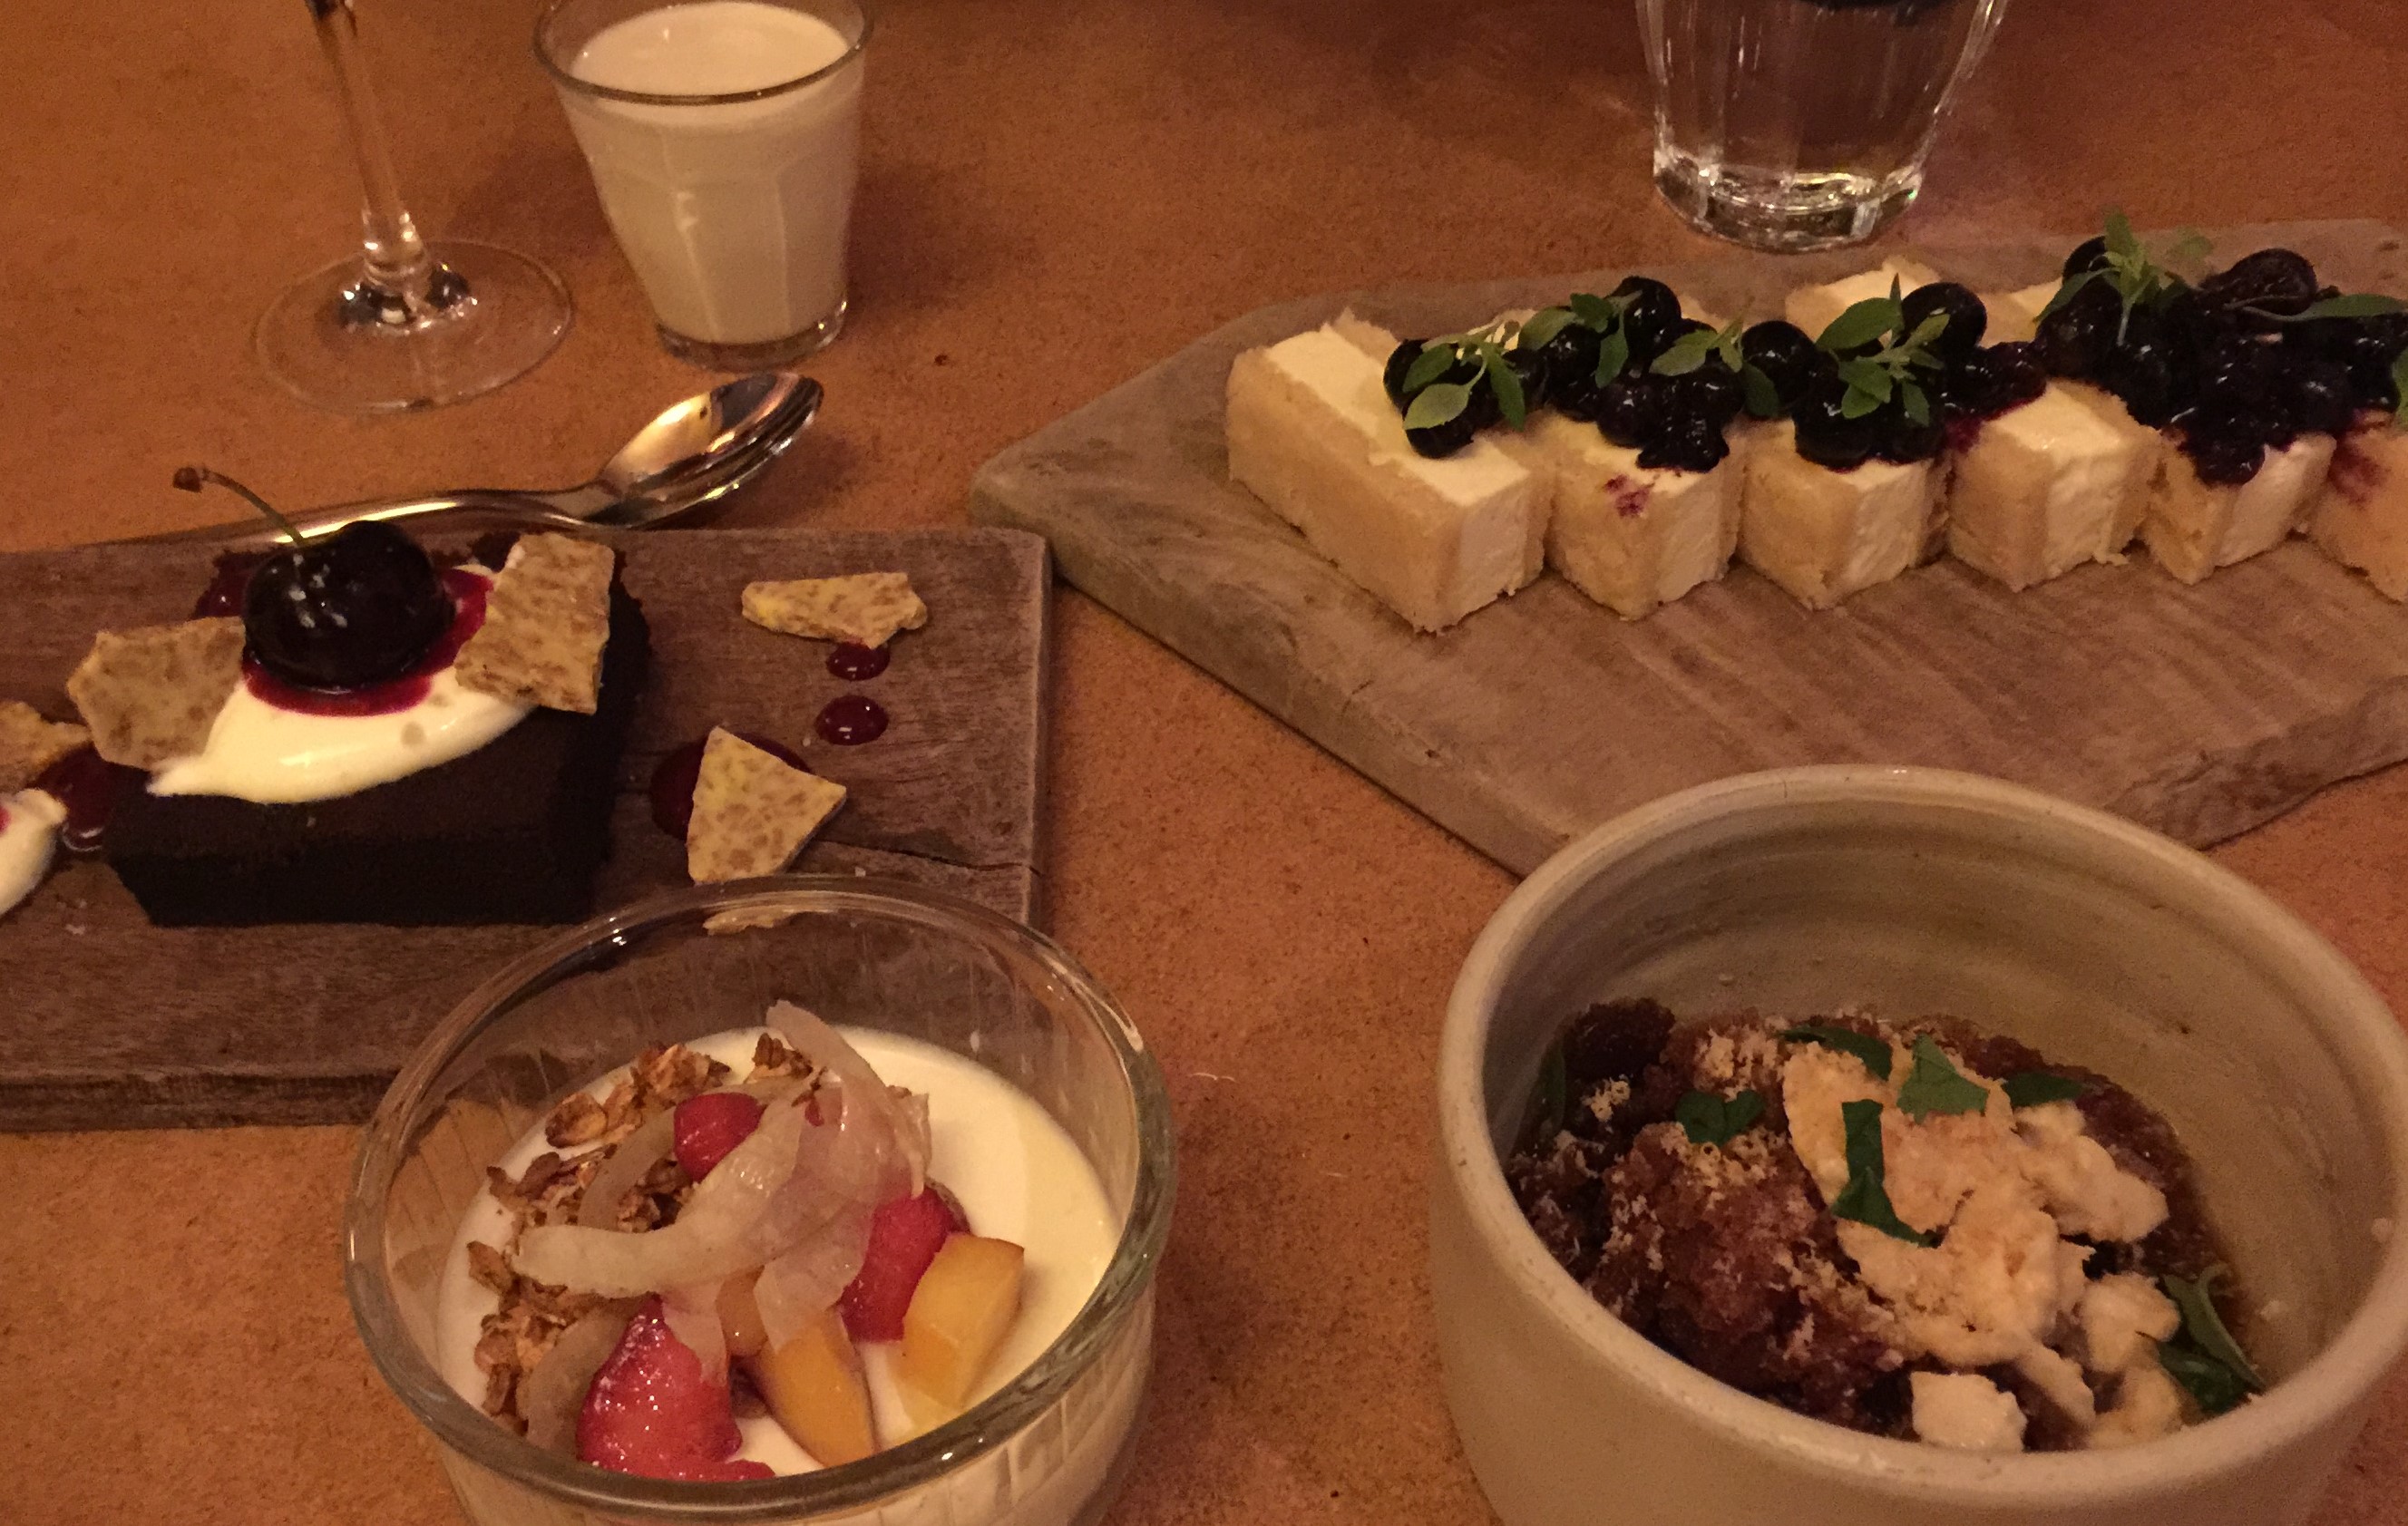
We had a dinner reservation at State Bird Provisions on Fillmore Street. In 2012, the recently opened State Bird Provisions was named the best new restaurant in America by Bon Appétit magazine. While waiting for our table we had appetizers and a drink at Progress, their sister restaurant next door. A couple standouts were their Malaysian Beef Jerky with Crushed Peanuts and Wood-Roasted Blonde Morels with Smoked Hollandaise. With our table ready we moved over to State Bird Provisions. The food there is served dim-sum style, with over half the food delivered on gleaming carts that are wheeled by filled with many creative concoctions. For two hours we indulged. My favorites were Garlic Bread with Burrata, Smoked Trout-Avocado ‘Chip and Dip’, Green Garlic Steak Tartare Caesar Toast, and Don Watson’s Lamb with Cumin, Squid, Shishitos, and Dates. The chef Stuart Brioza visited our table, filled us in on the history of the two restaurants, and I enjoyed learning of the many mutual friends we have in the industry.
3. SIGHTGLASS COFFEE
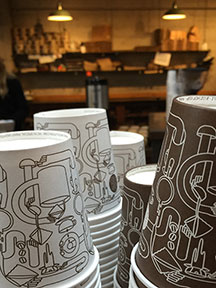 The next morning started with a visit to Sightglass Coffee; an independent sibling-owned coffee company with a few locations. They specialize in small batch production and source only the best green coffee. We visited their flagship store on Seventh Street, which already had a line at 7:30 on a Saturday morning, this in a city not known for waking early. It was immediately evident why Matt, a very discerning coffee drinker, suggested the visit. On one side of the high-ceilinged industrial space bags of green coffee surround a large stainless steel roaster. Behind a handsome bar the baristi serve up freshly roasted coffee on the other side. We enjoyed unrivaled espresso, cappuccini, and americani, along with fantastic pastries from b. patisserie and Neighbor Bakehouse.
4. B. PATISSERIE
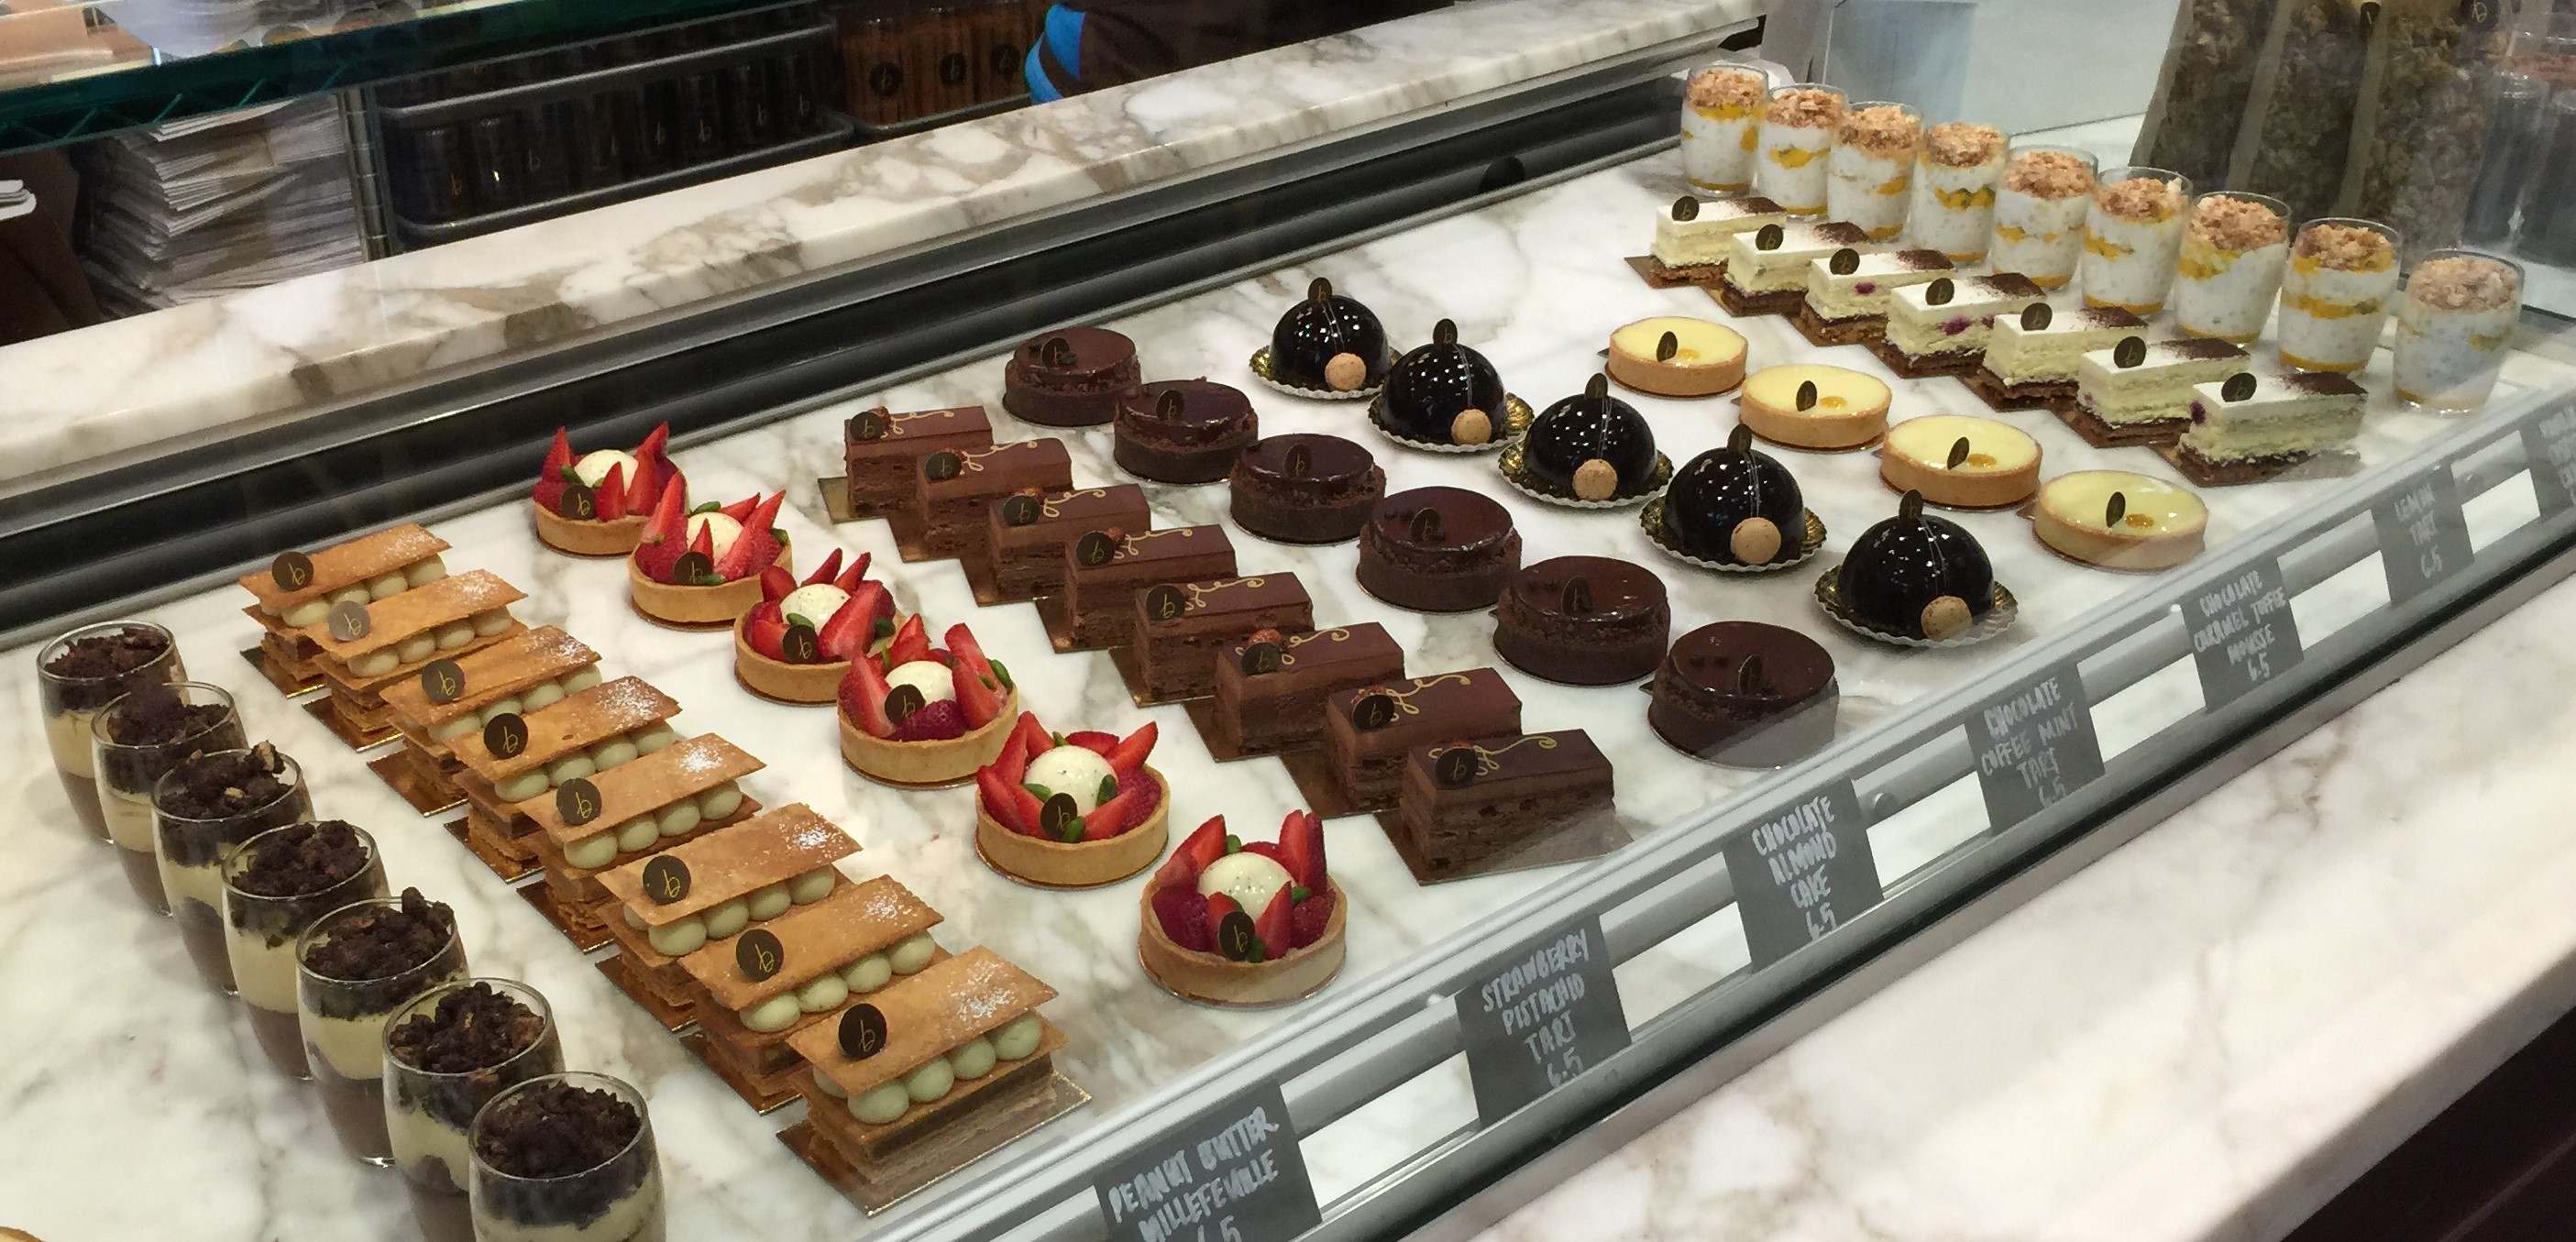
That afternoon we set out to visit a few other standout bakeries. First up was b. patisserie, a collaboration between Belinda Leong and Michel Suas. This dynamic duo is a formidable combination, with her talent as a pastry chef and his bread knowledge and general expertise. After years of planning, they opened their doors in 2012 at the lower edge of Pacific Heights. The open pastry kitchen has a large butcher block prep table surrounded by a team of bakers in white chef’s coats. Marble-topped Parisian style cafe tables, with bentwood chairs and a few bench seats, surround the beating heart of the patisserie, a long temperature controlled marble display counter filled an overwhelming display of sweet and savory treats. The elegant, buttery croissants are delightful, and the Kouign Amman pastries (pronounced Queen Ah-mahn) have developed a cult following in the city. Originating from the Brittany region, this round crusty cake has layers of butter and sugar folded in, much like a croissant, although with fewer layers. We sampled one filled with warm chocolate ganache, one with local berries, and a perfectly caramelized sugar version. While I’d recommend anything they make, seek out their addictive house-made granola, fresh berry scones, and sandwiches served on freshly baked bread.
5. SEMIFREDDI’S BREAD COMPANY
When you are in the bread business you often reach out to other bakers when taking on new projects or approaching big decisions. This is how I got to know the owners of Semifreddi’s Bread Company, Tom Frainier and Mike Rose, and vice president of bakery operations John Tredgold (who goes by JT). In business since 1987 they have grown into one of the largest artisan wholesale bread and pastry bakeries in the Bay Area. They have always been very generous with their time and knowledge. Tom says their company culture has evolved from ‘take care of the customer’ to ‘take care of our employees.’ Through their expansion they’ve managed to maintain the same high quality. They’ve also become industry leaders in their dedication to community giving. Primarily a wholesale business, they have two cafes, one in Berkeley and the other in Kensington. Their baguettes are especially worth picking up.
6. ACME BREAD COMPANY
Another major artisan bakery in the Bay Area is The Acme Bread Company. Owner Steve Sullivan was the first baker I knew about who was making French artisan-inspired bread. Before opening Acme Bread Company in 1983, Steve was baking bread for Chez Panisse. He left the famous restaurant to visit France to learn more about bread. Now more than thirty years later he continues to bake some of the best bread I have ever had. Steve met with us and gave our crew a tour of his small but mighty bakery in Oakland. They also have two other baking facilities strategically located as close to delivery locations in San Francisco in order to keep the bread as fresh as possible. Primarily a wholesale bakery they have two retail locations, one in the ferry plaza, and their original bakery on San Pablo Avenue in Berkeley. I love the racks and racks of fragrant freshly baked breads in the cafes.
As vibrant and booming as our own Seattle food scene is, it was great to visit San Francisco and taste what is happening down there. I am already looking forward to my next trip there!
Leslie Mackie
Places Visited:
- Tartine, 600 Guerrero St, San Francisco, 415-487-2600; www.tartinebakery.com
- State Bird Provisions, 1529 Fillmore St, San Francisco, 415-795-1272; www.statebirdsf.com
- Sightglass Coffee, 270 7th St, San Francisco, 415-861-1313; www.sightglasscoffee.com
- b.patisserie, 2821 California St, San Francisco, 415-440-1700; www.bpatisserie.com
- Semifreddi’s, 3084 Claremont Ave, Berkeley, 510-596-9942; www.semifreddis.com
- The Acme Bread Company, 1601 San Pablo Avenue, Berkeley, 510-524-1327; www.acmebread.com