Planning my next garden begins almost as soon as I’m pulling the last of the late fall produce. What would I like more of? Are there new vegetables to introduce? More dahlias? As I’m ordering seeds, I imagine the dinner parties my garden will help supply. What I never imagined in all the planning is that I’d be planting the seeds in a time of such uncertainty and fear, at a time when I can’t even invite friends over.
From the age of 22, I have always tended some type of garden. It started with multiple herb pots on window ledges. Eventually, I graduated to amending soil along parking strips, eking the most out any sunny area, often removing grass or overgrown scrubs to create a garden bed. No matter how small the garden, it’s always given me a sense of security. I’ve also found, that amid all the busyness and stress of starting and operating a busy bakery, gardening forced me to slow down. Even if only for part of an hour, the time in the garden steadied me with its stillness.

This year, with all the swirling anxiety, I need that stillness more than ever. With my hands in the dirt—planting seeds, weeding, or harvesting—I’m literally connected to the earth. It takes my overstimulated mind away from the media and gives me a reprieve from wanting to solve all the world’s problems. While I garden I dream of dinner parties I don’t yet know I’ll be able to have, but it helps to think of my friends gathered on a summer evening on my garden patio. Hopefully, it will happen.
One of the first crops I always get in is my sugar snap peas. Then I lay out the summer mix. I don’t rush to get everything in—even now that I live on six acres on Vashon and have had to start thinking more like a farmer than an urban gardener. Pacing things and considering what I’m likely to eat in abundance, mainly so I don’t get overwhelmed by all the work. I also plant crops like lettuce and kale in stages by seeding new crops once a month to keep the supply going all summer.

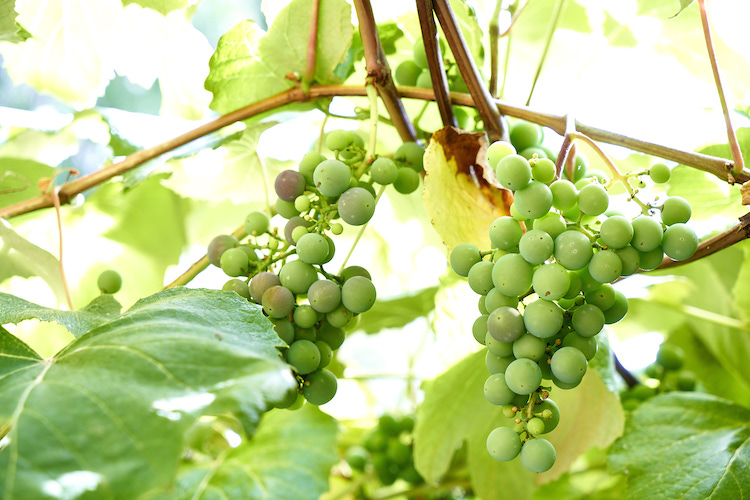
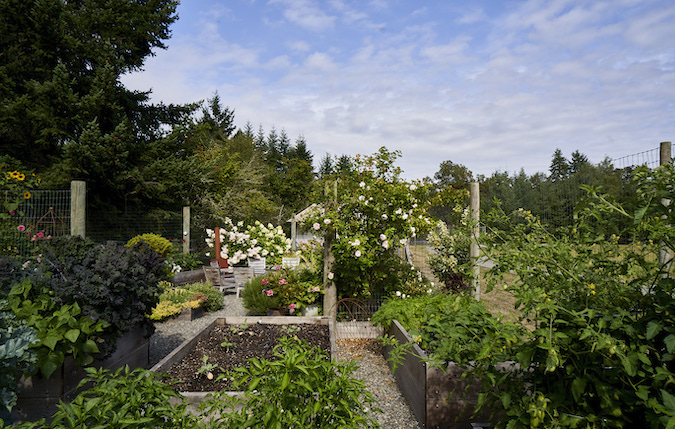
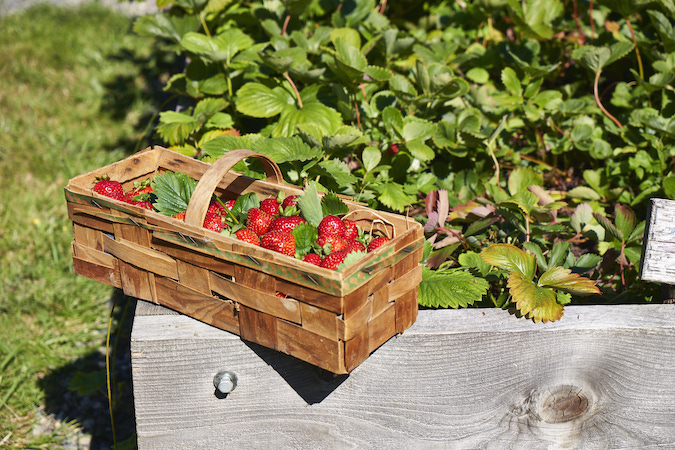
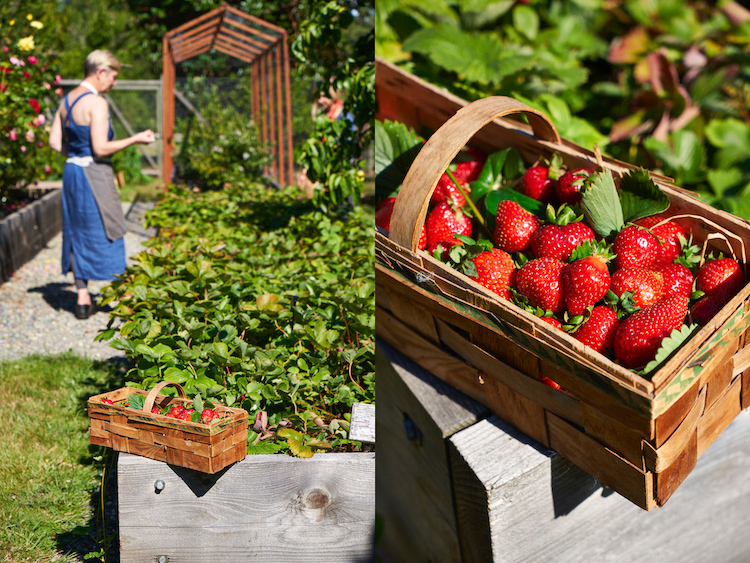
To keep things manageable, I fenced off my property to concentrate most of my garden and “garden life” to just under two acres. That’s still a lot, compared to my city apartments, but I enjoy it. My dogs and chickens roam the fenced area. Bushes of berries and a grape arbor help form a kind of outdoor architecture. Roses and Dahlia’s for cutting provide beauty and a long patio for entertaining extends from my house into the garden.
I use my raised garden beds for a rotation of summer vegetables, herbs, and fruit. I intermingle flowers throughout. Not only does it add beauty to a leafy garden, but they can help provide shade to plants like arugula that will bolt in full sun. They also help with pollination, attracting those ever-important bees.
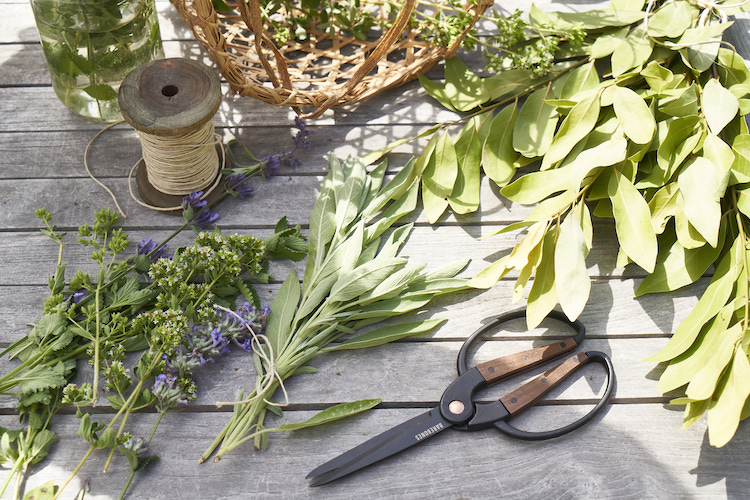
Despite all my planning, when the summer abundance arrives, I build dinners from what’s available. If I’ve planted well, I always have a steady supply of herbs and varieties of lettuce ready for picking.
To make watering more manageable, I added a simple irrigation system and a timer to help water the raised beds. On hot days, I’m often inclined to give them a bit more water, but it helps take the anxiety out of letting the garden get too dry.
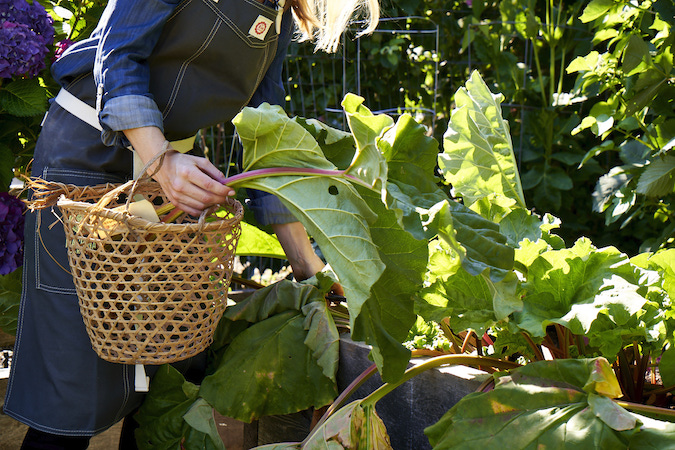
When things begin to grow, it’s important to visit your gardens often. Not only does it leave me with that inner-stillness I mentioned, but it’s important to remember that the more you harvest, the more new growth you get. This goes for flowers as well.
Every year there comes a time when I wish I’d planted something differently, but I’m always grateful for what I have. More importantly, the slow, quiet work and the planning for lovely meals and gatherings, and the promise of growth and beauty fills me with hope and serenity. This year, I need that more than ever.
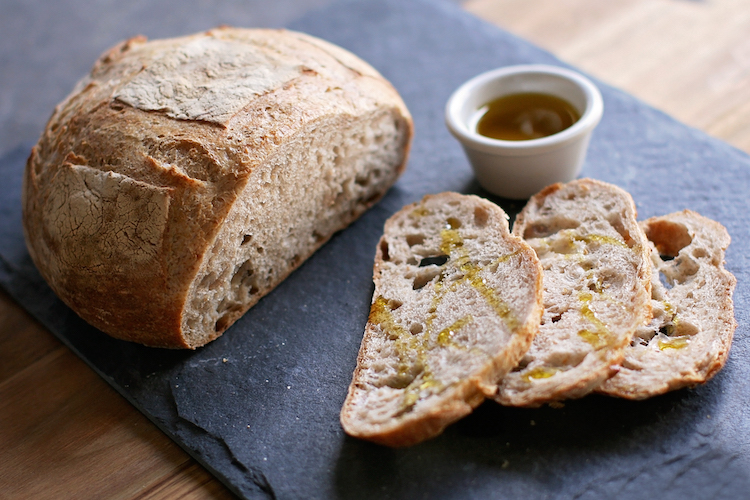
If you’ve got the space, even just a balcony, get a few pots going. Planting a seed in good soil and carefully tending it shows us the natural power of transformation. And when the time comes, nothing tastes better than homegrown herbs and vegetables. Your long-awaited dinner party will have a meal full of vibrant, just-picked flavor and your quiet satisfaction at the journey you and your seeds have made from a time of anxiety to one of renewal.