Tip & Tricks: Toasted Pumpkin Seeds

Squash Harvest Loaf

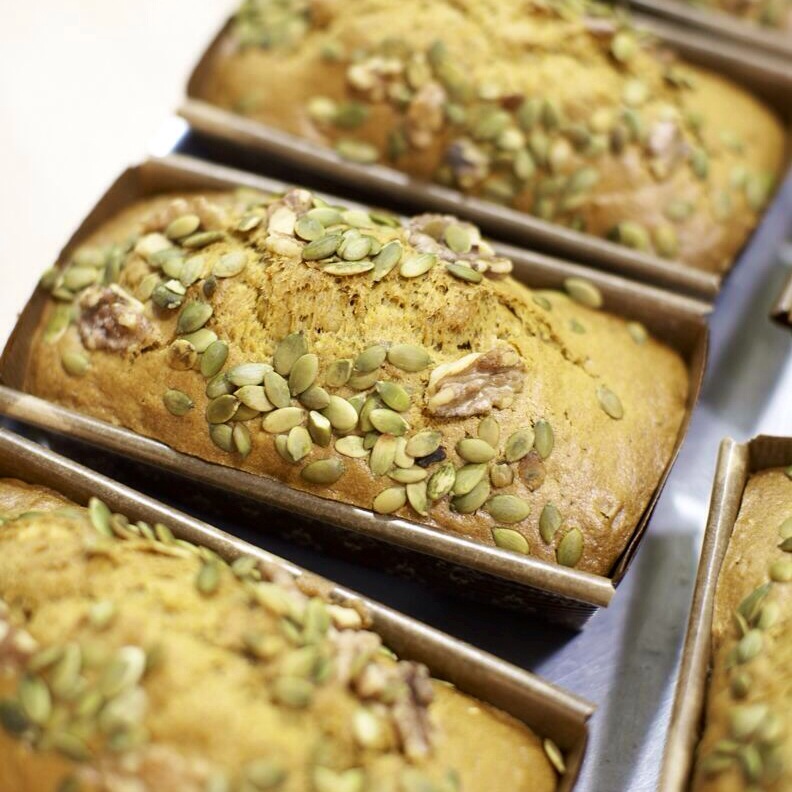
Our delicious Squash Harvest Bread topped with toasted pumpkin seeds and walnuts.

Pumpkins abound this time of year! Carved or whole, they are everyone’s favorite decorative squash. We like to use them for more than just adorning the doorstep. Each year as we’re carving up our jack-o’-lanterns, we set aside the seeds for toasting.

Loaded with zinc, iron, magnesium and heart-healthy fat, pumpkin seeds are a nutritional powerhouse. Add them to salads for a hearty crunch, toss into granola or trail mix, and use them to dress up homemade breads and pastries.

Tips for Perfectly Toasted Pumpkin Seeds

  • Rinse seeds well to remove any pumpkin pulp and pat dry with a paper towel before toasting.
  • Toss with a small amount of oil and a pinch of your favorite spices. For savory pumpkin seeds, try kosher salt, cumin and coriander, or Leslie’s favorite, kosher salt and ground chipotle chile pepper. For sweeter seeds, try cinnamon, sugar, nutmeg or ginger.
  • Spread seeds in an even layer on a heavy-duty baking sheet.
  • Preheat oven and bake at 300°F on the center rack until they are golden and fragrant, shaking and rotating the pan a few times throughout the baking process for even coloring.
  • Seeds can take up to 10 minutes to toast, but check them often and use your nose to alert you when they’re getting close.
  • An alternative to baking is toasting seeds in a dry skillet over medium heat, shaking the pan and tossing the seeds often to keep them from burning.
  • If you don’t eat them right away, store pumpkin seeds in an airtight container.

Tips for Baking Perfect Cookies

Our chilly autumn days easily lend themselves to holing up indoors. To keep from going stir crazy, we turn to baking – naturally. There is nothing more comforting than biting into a warm, freshly baked cookie. Between rainy weekends, school bake sales, and those swiftly-approaching holidays, we thought you might enjoy our best cookie baking tips.

fall_frosted_cookies_leaves_cropped

Tip #1  Most cookie recipes call for room temperature butter, but in the excitement of diving into a recipe it’s easy to forget to take the butter out of the fridge ahead of time. For those moments, simply slice the butter into smaller pieces, layer evenly on a plate, and leave it on the counter until it gives with the press of a finger – about half an hour.

Tip #2  The best cookie sheets are the heavy-gauge, stainless steel variety. Dark-colored cookie sheets may cause your cookies to over-brown on the bottom.

Tip #3  Baking cookies one sheet at a time is generally recommend for thorough cooking, but that’s also time intensive. If you’re baking more than one sheet at a time, rotate them from front to back and top to bottom halfway through the cooking time.

Tip #4  Cold dough is best for making sugar cookie cut outs. If your dough warmed up with handling, cover it in plastic wrap and pop it in the fridge until it’s well-chilled – about two hours. Once you’re ready to work with it, keep any unused portion refrigerated until it’s needed. On that note, cookie dough should be slightly cool before it goes into the oven, since warm cookie dough spreads excessively as it bakes.

Tip #5  We like using a small, spring-loaded ice cream scoop to portion out cookie dough. This keeps the cookies a nice, uniform size and helps them bake evenly.

Tip #6  Avoid cooling your cookies directly on the cookie sheet, as this causes them to overcook. Instead, gently place them on a cooling rack once you’ve pulled them from the oven.

Now that you’re ready to bake up the perfect batch, pick up More from Macrina for Leslie’s favorite cookie recipes!