
Want to make a ciabatta or baguette? You’re going to have to get your hands doughy. Working with wet dough takes practice and patience…and a little extra flour on your fingertips. This sticky stuff, if treated right, creates a golden-brown crust and cream colored crumb. But overwork it and your loaf will come out less than stellar. That’s because kneading and handling wet dough too much overdevelops the gluten (the part that gives your loaf shape and texture).
To produce the most beautiful, freshly baked loaf, knead wet dough gently in the beginning and then do what we breadheads call a “baker’s turn.”
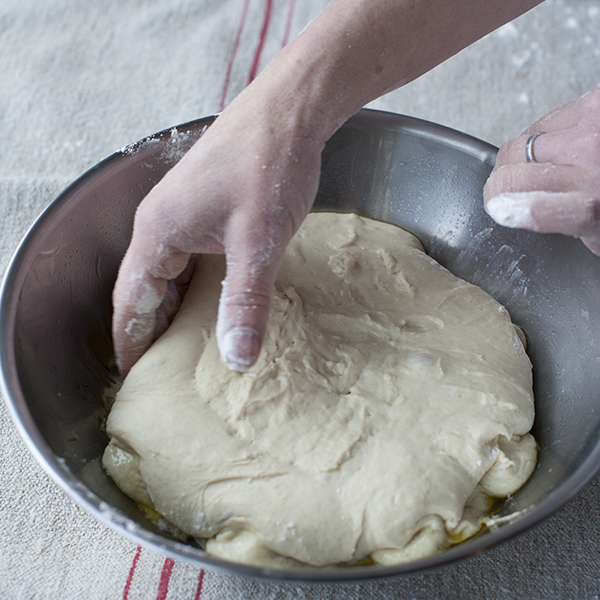
Step 1: Flour your hands well to prevent sticking to the dough. Keeping the dough in a bowl, use your fingertips to release the edges of the dough from the bowl.
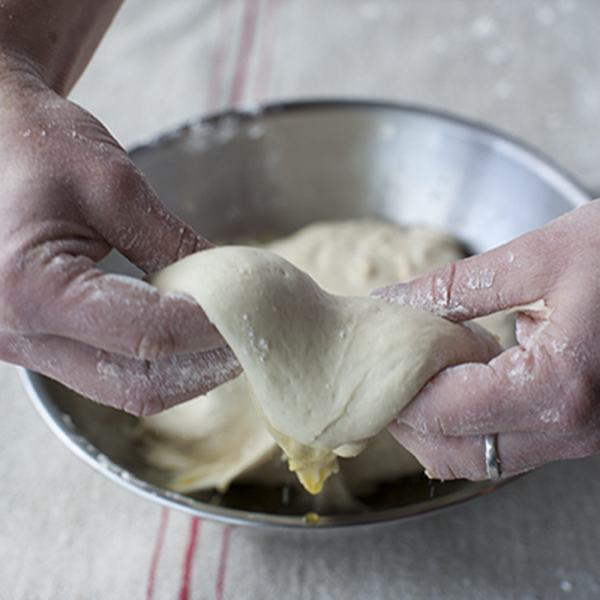
Step 2: Pull and stretch the right side of the dough outward, extending the dough past the rim of the bowl about six inches. Bring the stretched dough back to the center of the bowl and lay it on top of the dough ball.
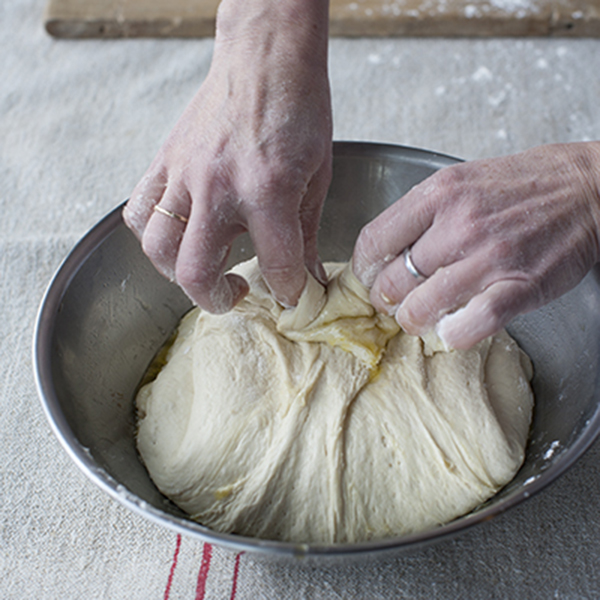
Step 3: Repeat Step 2 with the left side as well as top and bottom portions of the dough, bringing the stretched dough back to the center each time.
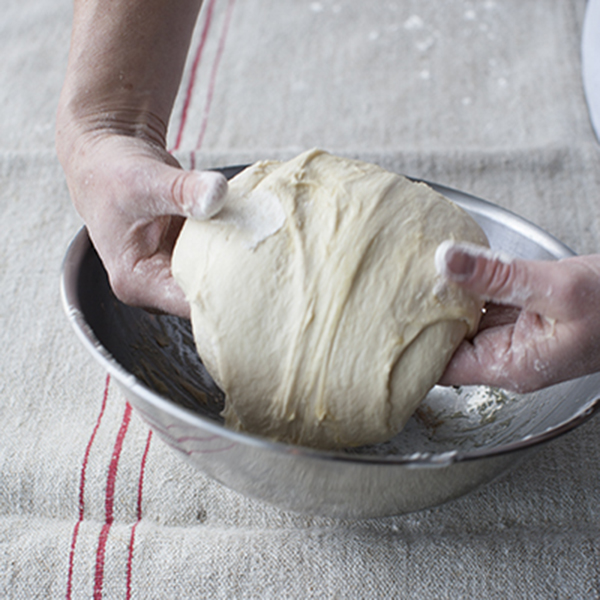
Step 4: Flip the dough ball over, placing it seam side down in the bowl.
Now you’re ready to proceed according to your recipe’s instructions. Some recipes require several rounds of bakers turns after each resting period. This helps develop the gluten and give your loaf shape.
Check back next week when we’ll be making our One-Day Artisan Whole Grain Loaf using flour mentioned in our previous Flour 101 blog post and preparing our wet dough with using the baker’s turn technique.