12 Days of Cookies: Day 2, Quick & Easy Cookie Icing

Royal Icing

Decorating sugar cookies can be a fun way to wile away a chilly afternoon with friends. Don’t despair if your little cookie canvasses aren’t perfect works of art. With a little practice, you’ll be icing cookies like our pastry chefs. In the meantime, rest assured that these cookies taste delicious no matter what – especially if you followed our tips for baking the perfect batch!

Quick & Easy Cookie Icing
Click here to print this recipe!

Ingredients

1 cup powdered sugar
1 tablespoon filtered water
Food coloring

Makes enough icing to decorated 6 to 8 six-inch cookies

1. Place powdered sugar in a medium bowl and add water. *Stir to combine until the mixture is smooth and all the sugar is dissolved. Add just a couple of drops of food coloring and mix well. You can always add more food coloring until the desired color is reached. Cover the bowl with plastic wrap and store at room temperature for up to 1 day.

2. Repeat the steps above to create more colors.

3. Fit your pastry bags with the desired piping tips. A fine tip is perfect for drawing detailed decorations and making outlines. A wider tip can be used to fill in spaces. Using a rubber spatula, fill each bag with a different frosting color. Gather the frosting near the tip so no air will escape the tip as you are decorating. When icing the cookies, make sure the piping tip is not touching the cookie, but rather hovering over the cookie. One way to cover the whole cookie with a glaze of icing is by putting on a latex glove, dipping your finger into the icing and painting the cookie with your finger.

4. While the icing is wet, add embellishments to the cookie by topping with colored sprinkles or crystal sugar. Once the icing has set, gently tap the cookie to get rid of extra sprinkles and sugar.

5. After all the cookies have been decorated, let them sit for 2 hours at room temperature, so the frosting can set.

*If your icing is too thick, stir in more water, 1/2 teaspoon at a time, until the desired consistency is reached; if too thin, continue stirring, or mix in more powdered sugar, 1 teaspoon at a time, until the desired consistency is reached.


12 Days of Cookies: Day 1, Our Best Baking Tips

Baking cookies is usually our first foray into cooking, and it remains one of the most pleasurable cooking experiences throughout our lives. The simple act of combining a few ingredients to make a big batch of sweets is a great way to spread some holiday cheer. To make sure your cookies are baked to perfection, we rounded up a few simple guidelines.

Creaming Butter

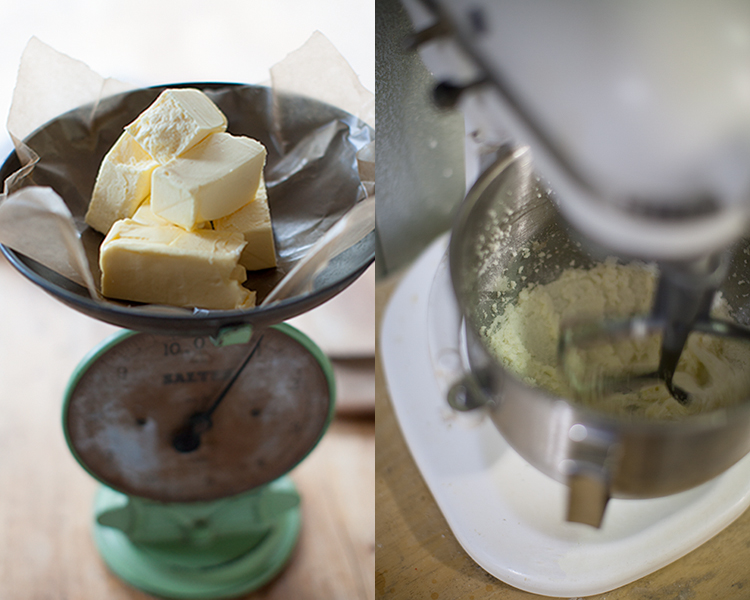
Cream the butter. If a cookie recipe calls for butter and sugar, it’s important to mix, or cream, the two together. Use a stand mixer to cream the ingredients with the paddle attachment for about five minutes. Start out on low speed for the first minute or so, and then increase the speed to medium. This process aerates the butter, creating a light color and creamy texture, and ultimately gives the cookies more height.

Eggs

Pay attention to the eggs. As with all perishable ingredients, always use the freshest, highest quality eggs you can find. Add eggs to the cookie dough one at a time, making sure each egg is completely incorporated into the batter before adding another. We recommend scraping the sides and bottom of the mixing bowl frequently with a rubber spatula to make sure every bit of the egg is mixed into the dough.

Cookie Ingredients

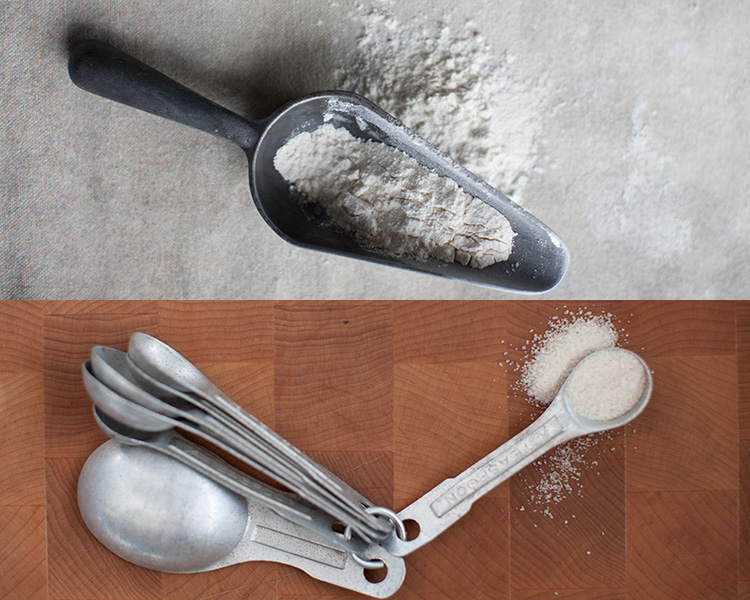
Fold in the dry ingredients. Rather than separately adding dry ingredients such as flour, baking soda, and salt to cookie dough, combine them in one bowl and mix well with a whisk, so that they will be evenly distributed throughout the cookies. Then, when the instructions call for it, fold the dry ingredients into the wet ingredients with a rubber spatula. Add small amounts at a time, folding in each batch until all of the flour has been absorbed into the dough. Folding the dough helps avoid over-mixing, which could result in tough cookies.

Cookie Ingredients

Chill the dough. It’s tempting to form and bake your cookies as soon as you make the dough – waiting can be agony when there are hungry people around – but chilling the finished dough for one hour in the refrigerator will ensure thicker, chewier cookies. If the butter inside the dough is not chilled before baking, it will melt quickly when placed in the oven, resulting in flat cookies that burn around the edges but stay raw in the middle. It’s worth waiting an hour to make the best cookie possible.

There really is nothing better than warm, freshly baked cookies. We hope your holiday season is filled with lots of delicious treats now that you’re armed with our best baking tips!

Find more baking tips like these as well as wonderful cookie recipes in our latest cookbook, More from Macrina.

The Great Figgy Pudding Caroling Competition

Figgy Pudding

We are spreading holiday cheer in more ways than one this year! The 28th Annual Great Figgy Pudding Caroling Competition is just around the corner, and we are excited to be part of this wonderful tradition. If anyone can get you into the spirit of the season, it’s our caroling team, The Baker’s (Dirty) Dozen!

Not only is Figgy Pudding Seattle’s biggest holiday music event, the competition provides tremendous support to the Pike Market Senior Center & Food Bank. Everyone is welcome to join us on Friday, December 5, from 6 to 8:30 p.m. in Seattle’s Westlake Center as we sing our hearts out during one truly magical night. You can find our team at the corner of 6th and Pine. With your help, we will make it to the Figgy Main Stage to compete against the top caroling teams!

While The Baker’s (Dirty) Dozen warms up their vocal chords, practices scales and rehearses Christmas carols, cue up our Wintery Mix playlist below and take a moment to donate to the Pike Market Senior Center & Food Bank.